Hey everyone, let’s dive into the world of brake sensors! These little guys are crucial for the safety and functionality of your braking system, so understanding them is pretty important.
First off, what exactly are brake sensors? Well, they’re essentially electronic devices that detect when your brakes are engaged. They act as the communication link between your brake system and other parts of your vehicle, like your brake lights. Think of them as the silent sentinels of your braking system, constantly monitoring and reporting back. Without them, your brake lights wouldn’t work, and that’s a serious safety hazard. We’re talking about preventing rear-end collisions and keeping everyone on the road safe.
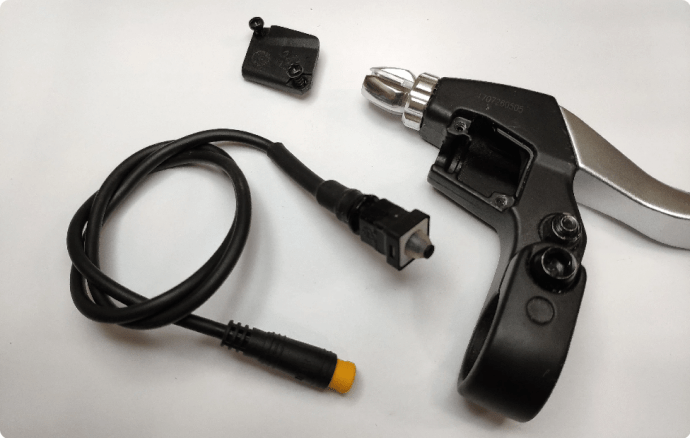
Now, let’s talk about the different varieties of brake sensors. There’s a whole range out there, but one of the most common types is the button sensor. These are relatively simple in design. They consist of a small button that’s pushed in when the brake pedal is depressed. This button completes an electrical circuit, signaling to the vehicle’s system that the brakes are engaged. It’s a straightforward mechanism, but incredibly effective. The button itself is usually made of a durable material to withstand the constant pressure and wear and tear. You’ll often find these in older vehicles or simpler braking systems. They’re reliable and relatively inexpensive to replace, which is a plus. But remember, even though they’re simple, regular inspection is still key to ensuring they’re functioning correctly. A faulty button sensor can lead to non-functioning brake lights, which, as we’ve discussed, is a significant safety concern.
Connecting these sensors is usually a pretty straightforward process. Most button sensors have TWO wires – one for power and one for ground. You’ll need to connect these wires to the appropriate points in your vehicle’s wiring harness. The exact location will vary depending on the make and model of your vehicle, so it’s always a good idea to consult your vehicle’s repair manual or a wiring diagram. Improper connection can lead to malfunctions, so take your time and double-check everything before you finish. Remember, safety is paramount here. If you’re not comfortable working with electrical systems, it’s always best to seek professional help. It’s far better to be safe than sorry.
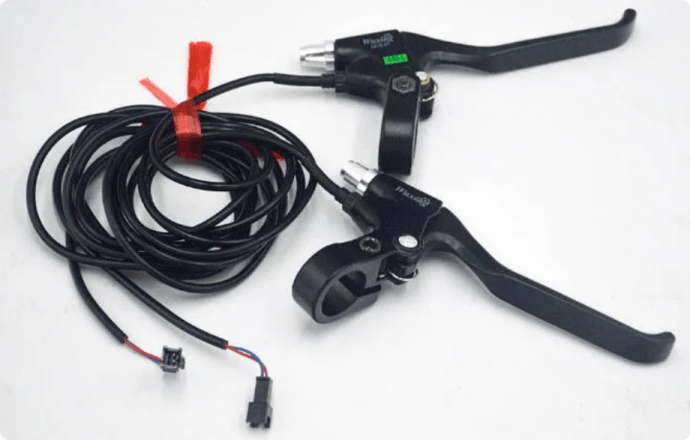
Finally, let’s talk about installing brake handles with integrated sensors. This is a bit more involved than simply connecting a button sensor. These handles often come pre-wired, but you’ll still need to carefully route the wires and connect them to the correct points in your vehicle’s system. Again, a wiring diagram is your best friend here. Pay close attention to the polarity of the wires – connecting them incorrectly can damage the sensor or even cause a short circuit. When installing the handle itself, make sure it’s securely mounted and that it operates smoothly. A loose or poorly installed handle can lead to inconsistent brake light operation, which is another safety hazard we want to avoid. Take your time, follow the instructions carefully, and if you encounter any problems, don’t hesitate to seek professional assistance. Remember, a properly functioning braking system is essential for safe driving.
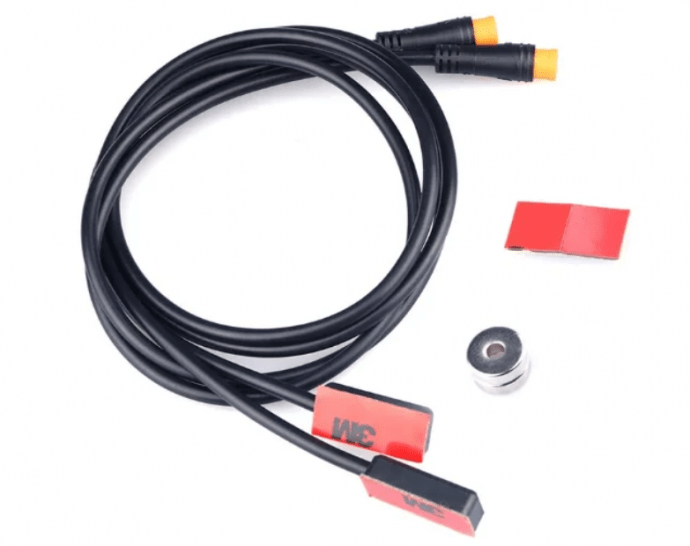
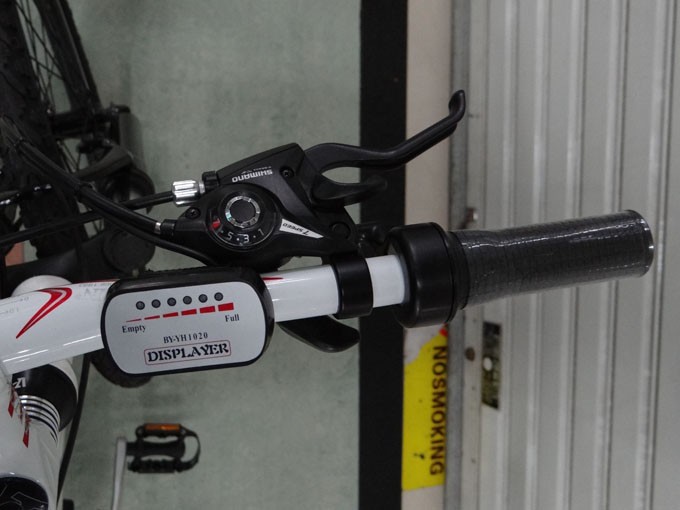
Hey everyone, let’s dive into the world of brake sensors! First up, we’re talking about magnetic sensors. These are incredibly common, and you’ll find them in a huge range of applications, from your car to your bicycle. The basic principle is simple: a magnet is attached to the brake lever, and a sensor detects when the magnet gets close. This proximity triggers a signal, telling your control unit that the brakes are engaged. Think about it like this – the magnet acts like a switch, but without any physical contact. This makes them super reliable and long-lasting, because there’s no wear and tear from friction. There are different types of magnetic sensors, too. Some use Hall effect sensors, which are incredibly sensitive to changes in magnetic fields. Others might use reed switches, which are simpler but perhaps less sensitive. The choice depends on the application and the level of precision needed. We’ll be looking at some examples later in the video, so you can see the differences for yourself. It’s important to note the distance between the magnet and the sensor; it needs to be just right for optimal performance. Too close, and it might trigger constantly. Too far, and it might miss the signal altogether. Manufacturers usually provide specifications for this, so always refer to those.
Now, let’s talk about connecting these sensors to a control unit. This is where things get a little more technical, but don’t worry, I’ll walk you through it. Typically, you’ll have TWO or THREE wires coming from the sensor. ONE is usually ground, ONE is power, and the third, if present, is the signal wire. The ground wire needs to be connected to a good ground point on your system – this ensures a stable and reliable connection. The power wire needs to be connected to a power source that matches the sensor’s voltage requirements. This is usually FIVE or TWELVE volts, depending on the system. Finally, the signal wire carries the information about the brake status to the control unit. This wire needs to be connected to the correct input on your control unit. The exact pinouts and wiring diagrams will vary depending on the specific sensor and control unit you’re using, so always refer to the manufacturer’s documentation. Getting this wrong could damage your components, so take your time and double-check everything. We’ll be showing a practical example later, so you can see how it’s done.
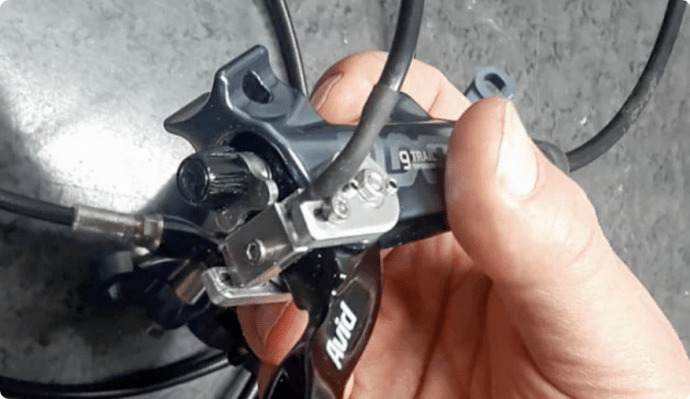
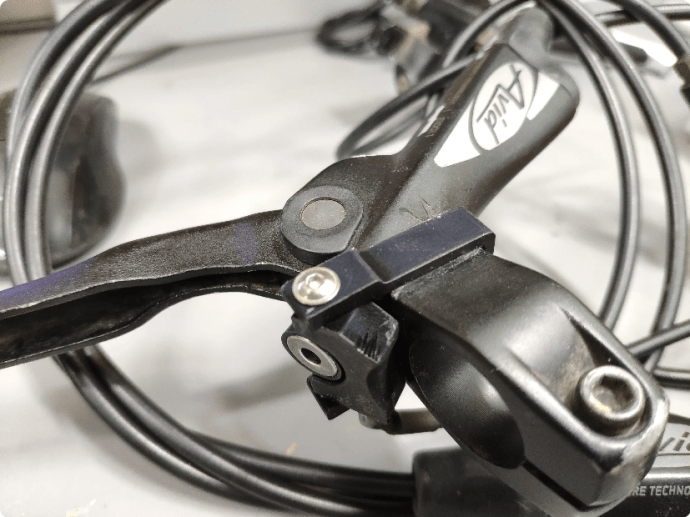
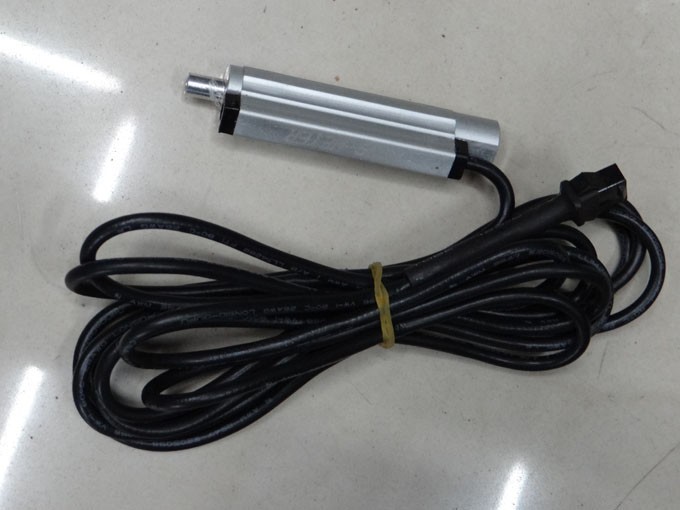
What about bikes where you can’t replace the brake handles? This is a common issue, especially with older bikes or those with custom setups. In these cases, you might need to get a bit creative. One option is to use a sensor that attaches to the brake cable itself. These sensors detect the tension in the cable, which indicates whether the brakes are engaged. They’re often smaller and less intrusive than handlebar-mounted sensors, making them ideal for situations where space is limited. Another option is to use a sensor that attaches to the brake caliper. These sensors detect the movement of the caliper, which again indicates whether the brakes are engaged. This method requires a bit more mechanical work, but it can be a very effective solution. Remember, safety is paramount. If you’re unsure about any aspect of the installation, it’s always best to seek professional help. Improperly installed brake sensors could compromise your braking performance and put you at risk.
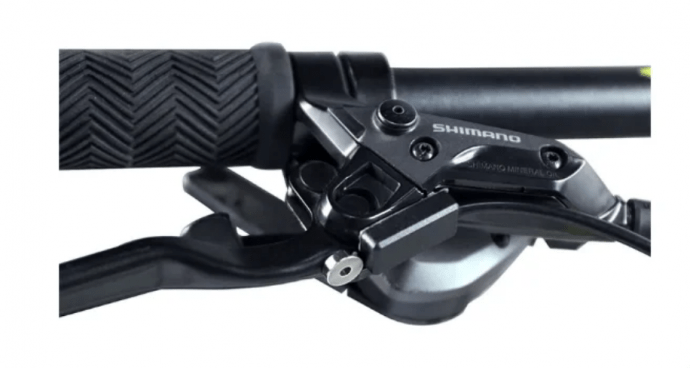
Finally, let’s talk about installing brake handles with integrated sensors. This is often the easiest option, as the sensor is already built into the handle. The installation process is usually straightforward, involving mounting the handle to the handlebar and then connecting the sensor wires to the control unit. However, it’s crucial to ensure that the handle is correctly aligned and securely fastened. A loose or misaligned handle could affect the sensor’s performance and compromise your braking system. Always refer to the manufacturer’s instructions for specific details on installation and wiring. And remember, always double-check your work before riding. Safety should always be your top priority.
- Читайте также: